1
The UI/UX Design Revolution: An Introduction to and Guide for Using Google Stitch
An introduction and practical guide to Google Stitch, an AI design platform developed by Google Labs that can transform text descriptions, sketch images, or voice inputs into complete UI/UX interfaces and source code in just minutes.
What is Google Stitch?
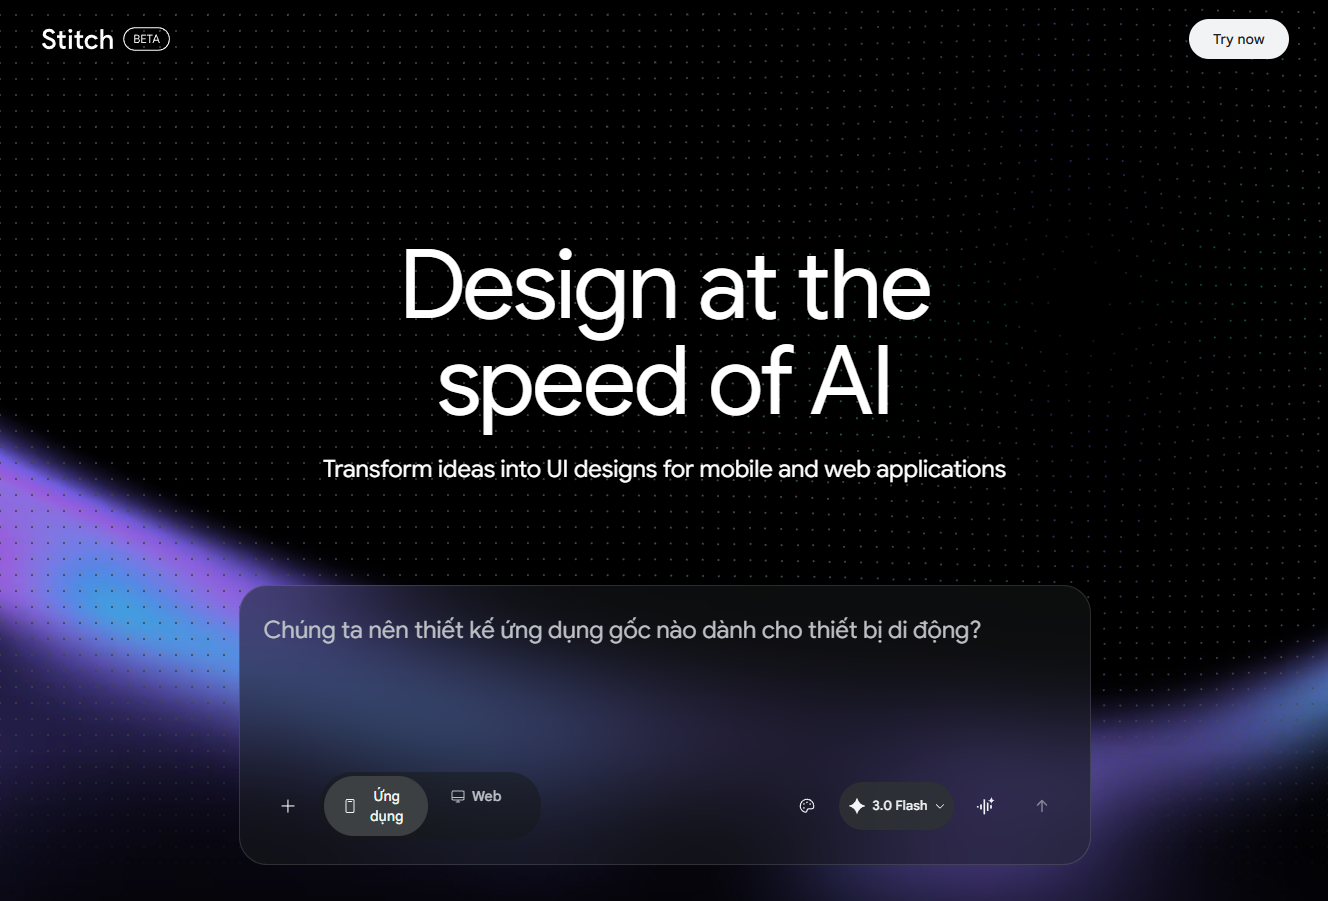
Google Stitch is an AI-powered user interface (UI) design platform developed by Google Labs, unveiled at Google I/O 2025. Built on technology from Galileo AI and combined with the power of large language models such as Gemini (Flash and Pro), the tool can turn text descriptions, hand-drawn sketches, or voice commands into complete UI designs with front-end code in just minutes. It acts as a "bridge" that fills the gap between ideation and coding, helping users overcome the "blank canvas problem" and accelerating the design process many times over.
A 6-step guide to using Google Stitch with concrete examples
Step 1: Access and initial setup
- Go to https://stitch.withgoogle.com/ and sign in with your Google account (no software installation required).
- On the main interface, you will see an infinite canvas space. Select the design format as App or Web at the top of the command input box.
- Next, choose the AI model in the bottom right corner. Options include:
- 3 Flash (default): Generates designs extremely quickly, suitable for basic everyday needs.
- Thinking with Pro: Prioritises quality and logical reasoning for complex interfaces (uses Gemini 2.5 Pro or 3.1 Pro).
- Redesign: Uses the Nano Banana Pro model, specialised for redesigning based on an existing image.
- Ideate: Suggests solution directions when you do not have a clear idea.
Step 2: Write a prompt to create the interface
Enter a detailed description of the interface you want into the chat box, including the target audience, style, and key components.
- Example: "Design a modern SaaS Landing Page for a project management tool called 'Trackflow'. Use a dark navy blue colour for the Hero section, a white background for content sections, and coral orange Call-to-action buttons. The layout should include: a Hero section with a large headline; a 3-column feature grid with illustrative icons; a pricing table with 3 plans; a customer testimonials section; and a Footer."
- After just 10-15 seconds, the AI will return a complete website interface based on your description.
Step 3: Refine the design (Iterate) using AI
Stitch does not require you to start from scratch. You can continue chatting with the AI to fine-tune even the smallest details.
- Example: Select the customer testimonials section and enter the prompt: "Change the design of the testimonials area to horizontal cards, with an avatar on the left, a quote on the right, and a 5-star rating at the top. Use a light grey background for this area."
- Stitch will automatically generate a new variant for you to compare side-by-side with the original. You can also double-click directly on the text to edit it.
Step 4: Design from an image (Image-to-UI) or voice (Voice Canvas)
- From an image: If you have a hand-drawn wireframe or a screenshot of an impressive website, click the image upload icon in the prompt box. Example: Upload the image and type "Redesign this landing page for the Trackflow tool... keep the structure but use the navy and coral orange brand colours." The AI will digitise the drawing into a full-colour, high-fidelity design.
- Using voice: Press the microphone icon on the canvas to give commands directly (Voice Canvas). Example: "Make the headline bigger, add a background effect, and place a product mockup next to the CTA button." The design will change in real-time as you speak.
Step 5: Linking screens into an interactive prototype
You can ask the AI to design additional screens, such as a Registration page or a Dashboard. - Once you have enough screens, use the linking tool (the Stitch button) on the screen. If you connect the "Get Started" button on the home page to the Login page, Stitch will automatically understand the logical flow.
- Press Play, and you can click through the prototype to experience it just as a real user would when using the application.
Step 6: Exporting the project file to Figma or Code
When you are satisfied with the design:
- Export to Figma: Click the ...More -> Copy to Figma icon. Open Figma and paste it in; the design will appear with a proper Auto Layout structure, and all layers and text can be freely edited further.
- Export Code: Click the Code icon (
< >), and Stitch will provide clean HTML/CSS and Tailwind CSS source code. You can also export the design directly to Google AI Studio or Antigravity to continue developing it into an application.
Summary
Google Stitch was not created to completely replace professional UI/UX designers or developers. However, it is an excellent design assistant for everyone: from founders who need to build a quick prototype, developers who require a user interface to integrate with code, to designers who want to rapidly iterate through the ideation process. By using natural language, anyone can now turn the ideas in their head into a real product in an instant.
For a more visual and dynamic overview of the entire interface design process—from sketch to complete source code using Google Stitch—as well as step-by-step tutorials, please refer to the attached presentation file below:
📊Google_Stitch_2026.pptx
Comments(1)
Ý nghĩa quá 🌟 Cám ơn ad đã chia sẻ
You need to sign in to comment.